
Although a Koi Pond can be a great addition to any garden. The one factor that makes it unattractive is the cost. You could enjoy watching your Koi fish swim around the pond without having to spend a fortune. Now that I have your attention. The next question is How To Build A Koi Pond Cheap?
Building a cheap Koi Pond is now possible without breaking the bank. Instead of engaging the services of a contractor, a simple D.I.Y. project will get the job done at a lower cost. On average, a Koi Pond can cost $2000-$2500, while a D.I.Y. project will cost you $500 -$1000.
For any project to be successful, underlying factors need consideration. Let me help you with the project by highlighting these factors and giving you a step-by-step guide on the most cost-effective way of building a Koi Pond.
Pro Tip: If you’re tired of wasting money and making costly mistakes on the koi-keeping hobby or are thinking about buying koi fish but don’t know where to start, I strongly suggest you check out this ebook. I recently read this ebook, and it contains SO much useful information, such as:
- 3 proven steps to identify koi fish diseases
- WARNING: 3 things you should NEVER do when it comes to caring for koi
- When to seek professional help when it comes to looking after your koi
Step By Step Guide On Building A Cheap Koi Pond
We have established the factors that need consideration in building a cheap Koi Pond. Are you ready to get those hands dirty and start building a pond? Here is a step-by-step guide.
Step: 1 – Mark The Foundation
- By using marking paint, outline the outer pond area and the locations of the pump, falls, and filters.
Step: 2 – Excavate By Digging Holes
- Initiate the excavation process by digging a hole of 7 inches in depth within the marked template.
- Once you have dug the hole, measure 10 inches across the pool to make a terrace.
- Dig another 5 inches across the inner circumference.
- For more terraces, repeat the process.
- Keep digging until you have reached a depth of 3-4 feet.
- In the center, dig a small hole serving as a bottom drain.
- Dig a channel from the hole and run a flexible pipe to the surface
Step:3 – Lining of The Foundation
- Lay a protective foundation; you can opt for the most durable or the most expensive concrete. P.V.C. or rubber bonded liners are more cost-effective and easier to fit.
- Before lining the pond, lay an underlay beneath the liner to prevent root growth and anything else from piercing the lining.
- A cheaper option for the underlay would be laying old carpets that can cushion the lining.
- Once the underlay is firmly laid, Cover the bottom of the entire pond with the lining and extra to extend up the sides of the pond.
- Lay in small pieces, ensuring that firmly seal all joints.
Step: 4 – The Plumbing
- Dig 1-2 small holes at the base of the pond for your bottom drain to sit on.
- Dig a trench for the piping to run to the settling chamber filters outside the pond.
- The piping must be a flexible hose to avoid blockage with debris.
- Water from the drain pipe will pump to the settling chamber; hence you will run a channel when digging out a pond hole.
- These chambers do not need to be submerged; you can stand them anywhere in your garden, perhaps behind a tree, to have easy access to clean the filters.
- You can use one pump for a small pond, but if you are building a larger pond, I recommend two pumps, as the pump moves at the rate of Gallon Per Hour (G.P.H.). A pump helps with the removal of debris and assists with aeration.
- Ensure your pump is fully submerged with valves so that water can enter and air can leave.
- The type of pump you choose should depend on the pond’s size, the water’s volume, and the pump’s location.
Step: 5 – Setting Up The Filtration System
- Apart from a pump, you will need a filtration system to remove debris. The type of filtration system will be dependent on the size of the pond.
- If you opt to include a settling chamber and surface skimmer, you can skim the pond’s top and bottom for debris, which benefits the Koi.
- For the smaller ponds, biological filters in isolation will be ample. These filters help break down harmful bacteria like ammonia, breaking down nitrates.
- You can also lay gravel or rocks on the bottom of the pool so that bacteria can settle on them; these bacteria will also help in the filtration process.
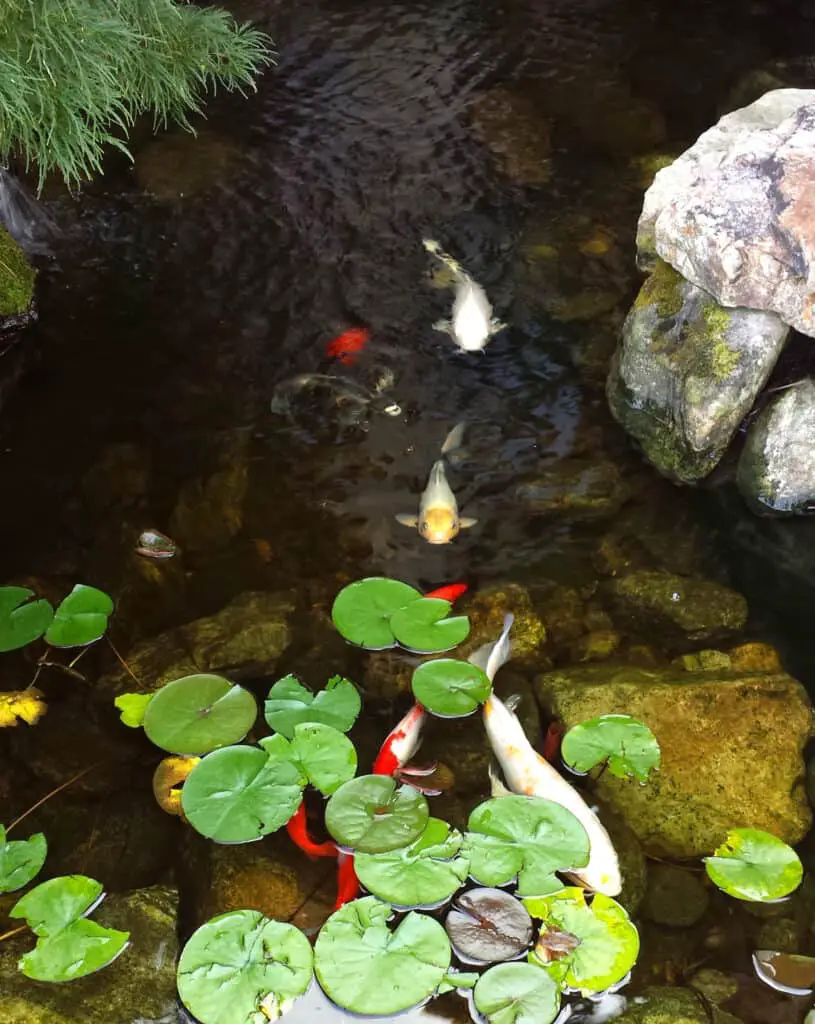
- Plants also help balance the aquatic system so that you can include plants like lily pads, water lettuce, waterweed, smartweed, and coontail.
- Snails and tadpoles are great additions to large ponds that help filtration by eating harmful algae.
Step:6 – Setting Up An Aeration System
- To ensure adequate oxygen in the pond, you must set up an aeration system.
- Adding a small waterfall or solar-powered water fountain is an excellent way of creating aeration in the Koi Pond.
- Underwater electrical systems will also help create air bubbles.
Factors To Consider When Building A Cheap Koi Pond
Any D.I.Y. project starts with planning. Before undertaking a project of this nature, you will need to consider the following.
Budget
Without a budget, it isn’t easy to plan. Your base on deciding the most suitable budget would be determining the required materials’ costs.
Materials Required For Construction
You will need the below materials when building a Koi Pond.
- Pond Liner
- Pond Underlay
- Pump – There are various choices for selecting a pump for your koi pond.
- Filter
- U.V. Clarifier
- Air Pumps (Optional)
- Tube, Parts & Tools
- Skimmer (Optional)
- Lighting (Optional)
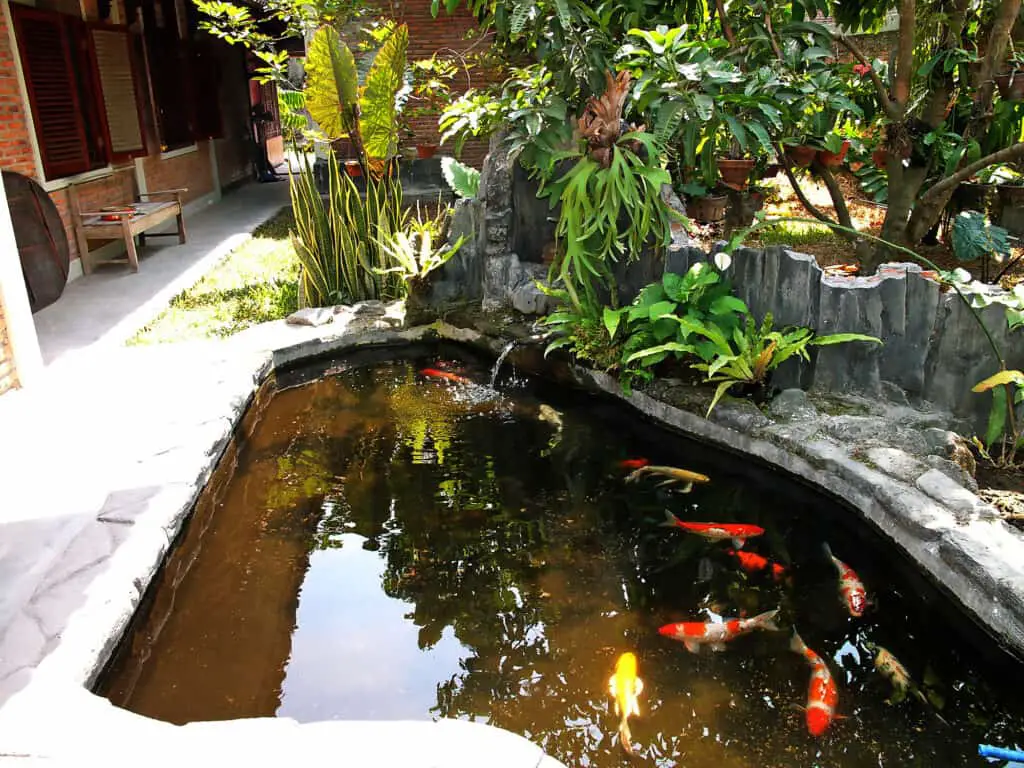
Location Of The Koi Pond
On paper, plan the overall design and layout of the pond, considering the logistics of the garden. The Koi Pond should not be under a tree, as debris like and twigs leaves can fall in and clog up the pond, ultimately causing damage to the filtration system. Also, stay clear of any electrical lines.
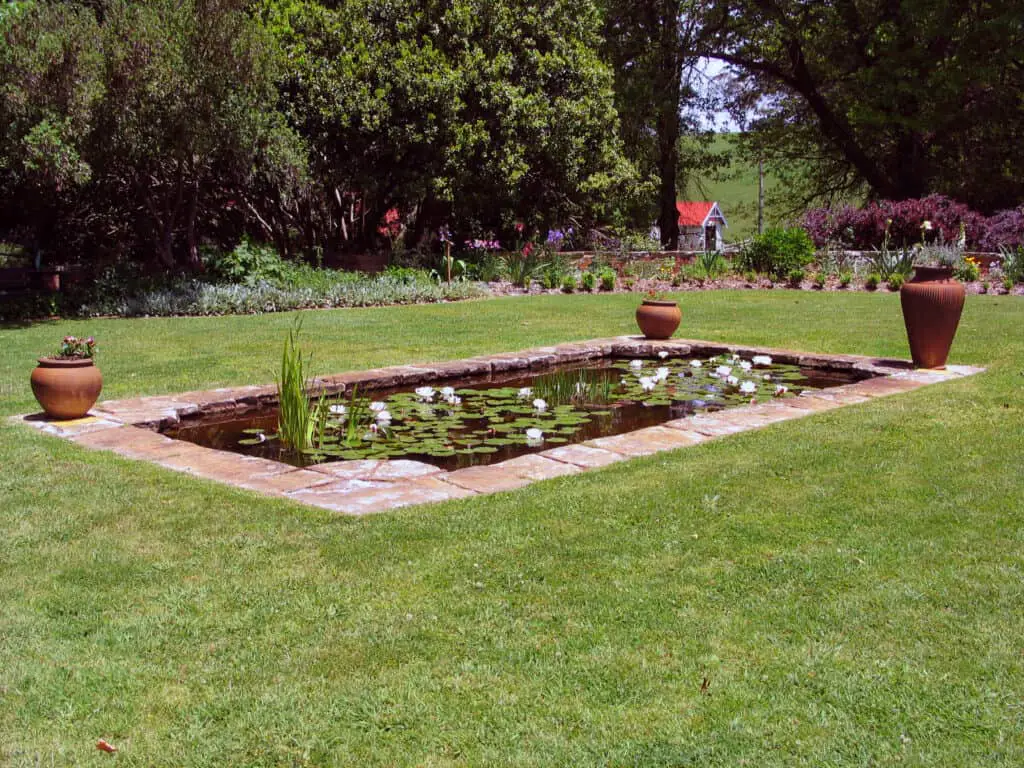
The Size Of The Koi Pond
The size of the pond is a huge determining factor in the project’s cost. Smaller ponds can be a lot more cost-effective than larger ones. However, Koi tend to grow significantly; hence the size of the pond must accommodate the growth. For this reason, a Koi Pond will have to be able to hold at least 500 gallons of water.
Here is an example of the size of a Koi Pond, Length: 24′ x Width 12′ x Depth 4′. The pond size will also depend on the number of Koi you intend to breed.
Amount Of Sun Exposure On The Koi Pond
You will need to consider investing in a sound filtration system. A Koi Pond exposed to full sun will need sufficient filtration to prevent algae build-up. If you cannot build the pond in partial shade, you might consider including lilies in the pond, which will control algae and provide shade to the Koi since they can only tolerate 5-6 hours of sunlight.
Depth Of The Pond
The pond must be deep enough to protect them from predators like raccoons, felines, and birds. The recommended depth of a Koi Pond should be close to three feet or deeper.
Other Factors That Need To Be Considered
The dumping of the water when cleaning the Koi Pond also needs to be considered.
Conclusion
Building a cheap Koi Pond means getting your hands dirty. Although you might successfully create a Koi Pond cheaply, the cost of the Koi can be expensive. If you follow a few steps, you will be able to enjoy the benefits of owning a Koi pond at a fraction of the cost.
References
https://www.quora.com/What-do-I-need-to-know-before-building-a-koi-pond/
https://www.youtube.com/watch?v=2DvH7FlW3Z0/
https://www.youtube.com/watch?v=EM1mmuGDlpo/https://www.youtube.com/watch?v=8s5a0zaCagM/