
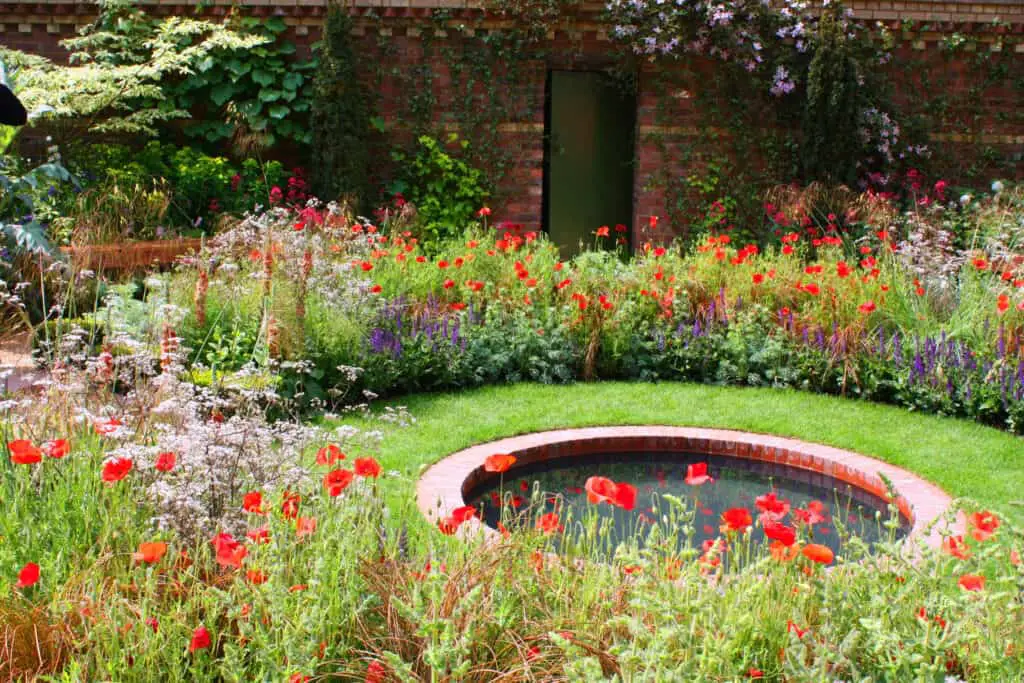
Koi ponds are a great addition to a garden. They add aesthetics to the garden and give you a feeling of peace and tranquility. Koi ponds also symbolize peace and serenity and are a great feature to add to a dead spot in your garden. In addition, koi ponds are easy to build and make for a great DIY project. So, how do you build a koi pond with bricks?
Start by choosing the location of your koi pond. The area should have some shade to promote algae growth. Then, level the area and trace the shape of the koi pond. Next, add a layer of bricks and mortar to the floor before filling up the sides. Finish the process by adding a water filter and fish.
A brick-and-mortar koi pond is an easy way of building a koi pond. In addition, it uses affordable materials and can be constructed in a short time. However, a few considerations exist when constructing a koi pond from bricks and cement. This article gives a step-by-step guide for building a koi pond from bricks.
Pro Tip: If you’re tired of wasting money and making costly mistakes on the koi-keeping hobby or are thinking about buying koi fish but don’t know where to start, I strongly suggest you check out this ebook. I recently read this ebook, and it contains SO much useful information, such as:
- 3 proven steps to identify koi fish diseases
- WARNING: 3 things you should NEVER do when it comes to caring for koi
- When to seek professional help when it comes to looking after your koi
How To Build A Koi Pond Using Bricks
Before we can discuss how to build a koi pond from bricks, we must first examine what materials and equipment are needed. When using a pond for koi fish, you will need additional supplies to ensure the fish are healthy and able to survive in the pond. This is what you will need for a koi pond:
- Bricks
- Quick-dry cement
- A water pump and filter
- Railway sleepers or stakes
- A pond liner
You have a few options when building a koi pond. You can dig the pond down into the ground, build it on top of the ground, or a combination of the two. However, building on top of the ground doesn’t require digging a trench, saving time and effort.
Therefore, we will give you the steps for building a koi pond on top of the ground. Now, how should you go about building a koi pond with bricks?
Step 1: Choose A Location To Build The Koi Pond
Choosing the right location for your koi pond is crucial. A koi pond needs to be built where you can see it clearly inside your home. This will allow you to enjoy your koi pond, regardless of the season.
In addition, your koi pond should ideally be built in partial sun. Although it can be built in full sun, partial sun exposure is preferable. Certain bacteria and algae need to be in the water for the koi fish to flourish. This algae and bacteria grow better in a shaded area.
A koi pond should also contain at least 1,500 gallons of water. This is the space koi fish need to survive. Typically, the koi pond must be at least four inches deep. If you’re using railway sleepers, a 6X3 foot pond will be perfect, as you don’t need to cut the sleepers in this case. When you have selected the location for the koi pond, you can outline the pond in the ground.
Step 2: Start Building The Base Of The Koi Pond
When the outline of your koi pond is planned, you can start building it. Start with a ground layer of bricks filled with cement. Once the ground layer has been constructed, you can add the stakes or railway sleepers into the ground.
Railway sleepers are ideal because they are strong enough to withstand the outward pressure of the water you fill the pond with. Regardless of what materials you use, place one stake at each corner of the pond and a few in between. You can also lay some sleepers or stakes flat around the base of the pond.
You can then build the sides of the pond using bricks and mortar. A regular brick-and-mortar pattern will do fine for building a koi pond. Ensure the sides of the pond are smooth and there are no sharp edges. Allow the cement to dry before moving on to the next step.
Step 3: Line The Koi Pond
Once the cement has dried, you can line the koi pond with a pond lining. Alternatively, you can also cover the inside of the pond with cement and coat it with a pet-friendly coating. When using the pond lining for the inside of the pond, pull the lining tight, as you would a bedsheet.
Then, slowly allow the lining to drape the inside of the pond. Leave an overhang at the top of the pond. This overhang can be secured in place by adding sleepers or other decorative finishes to the rim of the koi pond. Once the lining is secured, you can finish the outside of the pond. You can paint the pond, cover it with decorative tiles or wood, or leave the bricks exposed for a timeless look.
Now the build of your koi pond is completed. However, before you can start adding your koi fish, you must first do a few more things.
Step 4: Add A Water Pump And Filter
For the koi to survive in the pond, there needs to be circulating water in the pond. The filter will help remove any waste and clouding materials from the water. The pump will ensure sufficient oxygen in the water to support the fish. Many pumps are available for koi ponds, so do some research before buying one.
Don’t opt for the cheapest pump, as this might cause your fish to die. When the pump has been installed in the pond, you can add gravel or smooth stones to the bottom of the pond. Ensure the materials you add to the bottom aren’t sharp, as the fish could get injured while exploring the pond.
Many koi owners advise adding gravel to the bottom of your pond, as it helps break down organic materials and protects the liner from sun damage. However, smooth rocks will also work perfectly and look more natural than a bare liner at the bottom of your koi pond.
When the gravel or stones have been added, you can fill the pond with water and test if the pump and filtration system is working correctly. If you wish to add aquatic plants to the pond, you can also do so. Be sure the plants aren’t poisonous to koi fish, and remember that they will take some time to adjust to the new environment.
Step 5: Add Your Koi Fish
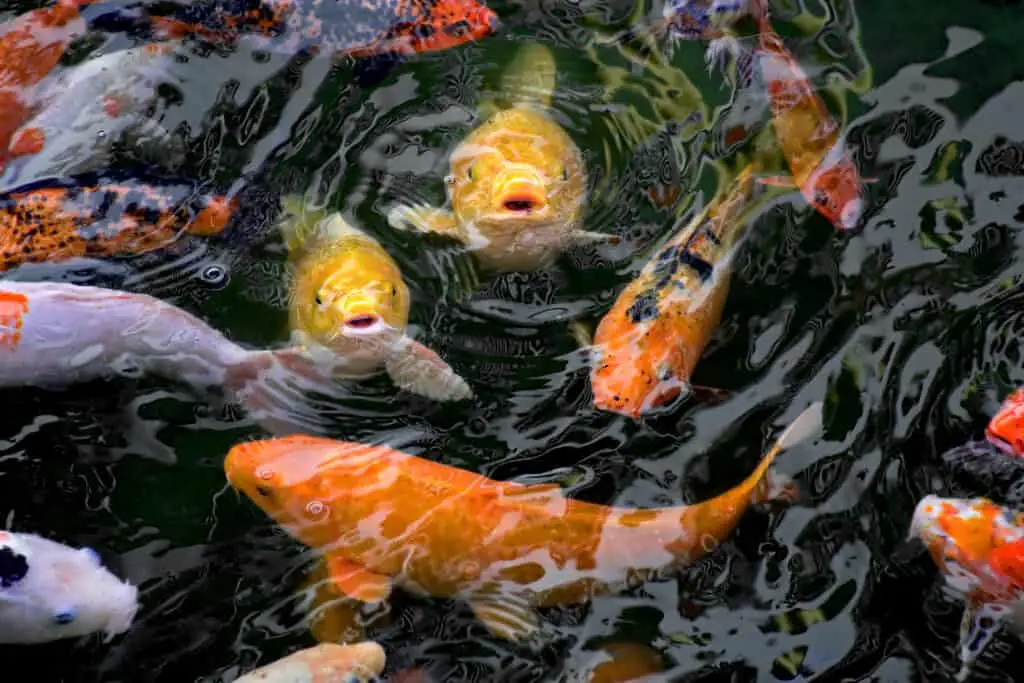
After completing your koi pond and adding the aquatic plants and filters, wait a few weeks before putting your koi fish in the pond. The water needs time to settle and allow bacteria to grow, making the pond hospitable for koi fish. After about three weeks, you can add the fish and enjoy watching them swim around in your very own koi pond!
Conclusion
Building a koi pond with bricks is a straightforward process that can be completed quickly. Once the pond is finished, you must add a water filter and pump and allow the water to settle for a few weeks before adding your koi fish.
You can build a koi pond from many materials. Still, bricks, railway sleepers, and a pond liner will deliver the best results at a reasonable price. Koi ponds can be altered to suit your needs and preferences. However, they must be at least four inches deep and be big enough to hold 1,500 gallons of water.
References
https://diyjoy.com/how-to-build-a-backyard-pond/
https://www.sun-sentinel.com/entertainment/wsfl-koi-pond-create-htmlstory.html
https://www.swelluk.com/help-guides/how-to-build-a-raised-pond/
