
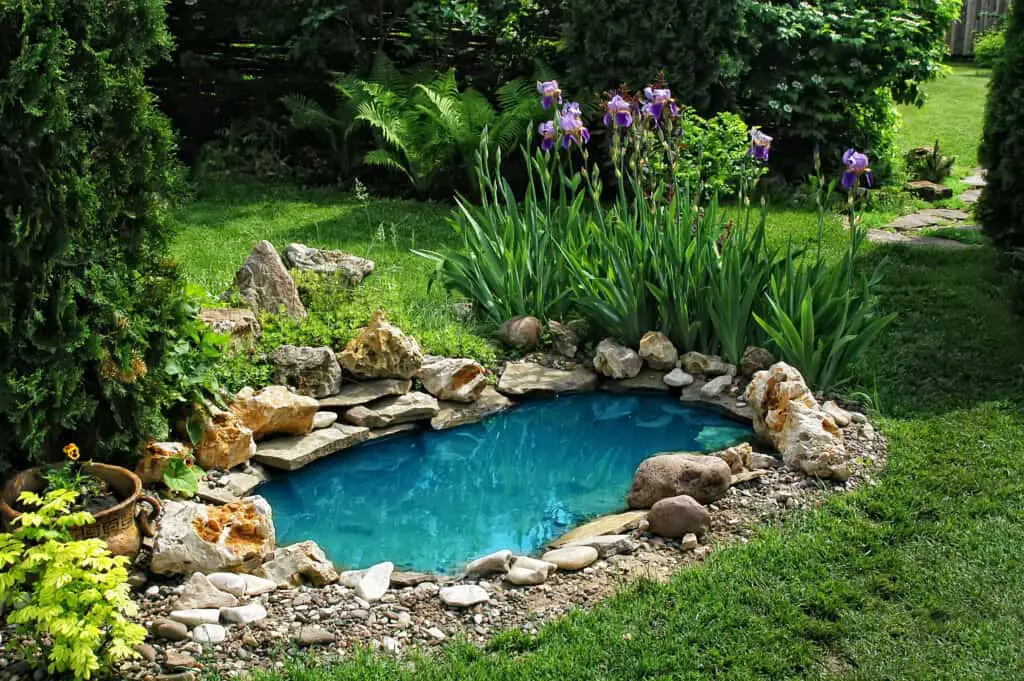
For centuries, people have traveled hours to find beautiful bodies of water. People have traveled through forests and hiked up mountains to look at a stunning pond that looks like it was sent from a dream. These days, you can buy a couple of tools and create an exquisite pond in your garden. So, how do you build a mini pond?
All you need is a shovel, a container, and an idea of what you want your mini pond to look like. Mini ponds can become homes for many animals like birds and hedgehogs and help eliminate pests. You can use any container to make a mini pond or use no container at all.
Mini ponds help control pests, attract wildlife, and spruce up the aesthetic level of your garden. A mini pond can be as large as you like and are relatively easy to make and maintain. So without further ado, grab your shovel and learn how to build a mini pond.
Pro Tip: If you’re tired of wasting money and making costly mistakes on the koi-keeping hobby or are thinking about buying koi fish but don’t know where to start, I strongly suggest you check out this ebook. I recently read this ebook, and it contains SO much useful information, such as:
- 3 proven steps to identify koi fish diseases
- WARNING: 3 things you should NEVER do when it comes to caring for koi
- When to seek professional help when it comes to looking after your koi
What Do You Need To Build A Mini Pond?
Firstly, you must decide what type of pond you want in your garden. Do you want to recycle an old container, like a metal bath or basin? Do you want to build it in the ground and not use a container to hold your water? The things you need will only slightly vary between your choices.
You will need a shovel to dig up the ground to make your pond. If you are using a container, you can dig a little to let the container sit in the hole or let it stand on its own. If you want to build a pond in the ground, you need to decide the shape of your pond and dig how deep you want your pond to be.
You will also need pond liners and waterproof plastic sheets. This prevents water from slowly leaking out of your containers or from your pond in the ground. You will also need water and some decorations in and around the pond and a fountain or filter if you wish, but those are unnecessary.
1. Pick A Location For Your Mini Pond
The first step in building a mini pond is choosing where you want the mini pond to go. There are no advisable spots in your garden so that you can put it anywhere you think makes your garden look as lovely as possible. Just make sure you have enough space to work and that you will not have any obstacles in the ground to deal with when digging your area for your pond.
2. Start Digging The Mini Pond
Grab your shovel and start digging. If you are only letting the container sink in a little bit, you only need to dig an area for the base of the pond and let it sit in the hole. You can also let the container stand and decorate around it to look nice.
If you are putting your pond in the ground, you first need to decide what you want the shape of your pond to look like. Once you have this shape in your mind, map it out on the ground by breaking up the ground on the shape’s edges using the shovel.
It would help to decide how deep you want your pond to be and get digging. Dig inside your shape until you are happy with what the pond will look like and the depth. It would help if you made your pond no shallower than 3 feet deep, and 4 feet or more is the optimal depth.
3. Line The Inside Of Your Pond
Whether you are using a container or just putting the pond in the ground, it is advised that you line the pond with waterproof lining. This prevents any leaking and keeps the water level consistent in both ponds. You can buy waterproof lining from your nearest hardware store; any waterproof plastic sheet should do the job just fine.
If the pond you are digging will be in the ground, you will need to put a lining in the pond. Otherwise, all the water would slowly seep into the dirt below, and you would have to refill the pond quite often. Many people have worries about the lining not looking lovely in their mini pond, but there are ways to conceal it, such as lining rocks along the edge of your pond to hide the lining.
4. Decorate The Floor Of Your Pond
Now that you have lined the pond, it is time to do a bit of interior decorating. Many use gravel to line the bottom of their ponds once they have put the waterproof lining in. Gravel has many purposes in mini ponds that you can benefit from.
Firstly, it conceals the waterproof lining, so you will not have to worry about the bottom of your pond looking unnatural. Secondly, it looks good inside ponds. Thirdly, it acts as a weight to hold the waterproof lining against your pond floor so that no plastic sheets will be floating in your pond. Lastly, it is a suitable anchor for the plants and decorations you want to put in your mini pond.
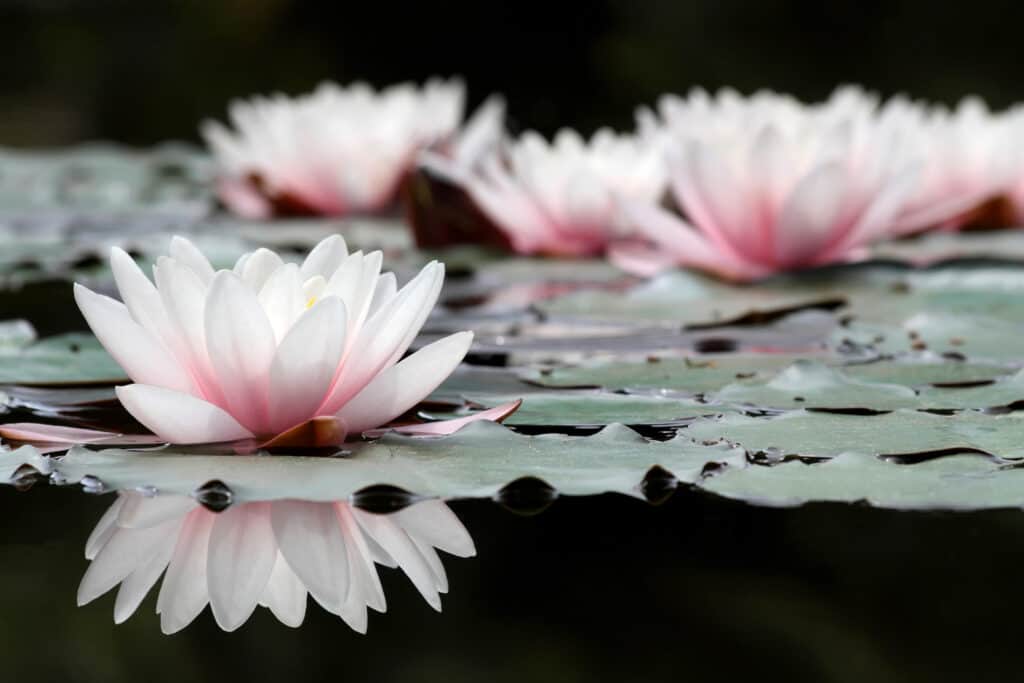
You can now add nice decorations like logs, plants, and other rocks to the inside and outside of your pond. The mini pond is yours to decorate, so you should decorate the inside and out of the pond in any way you think will look best for your garden’s aesthetic.
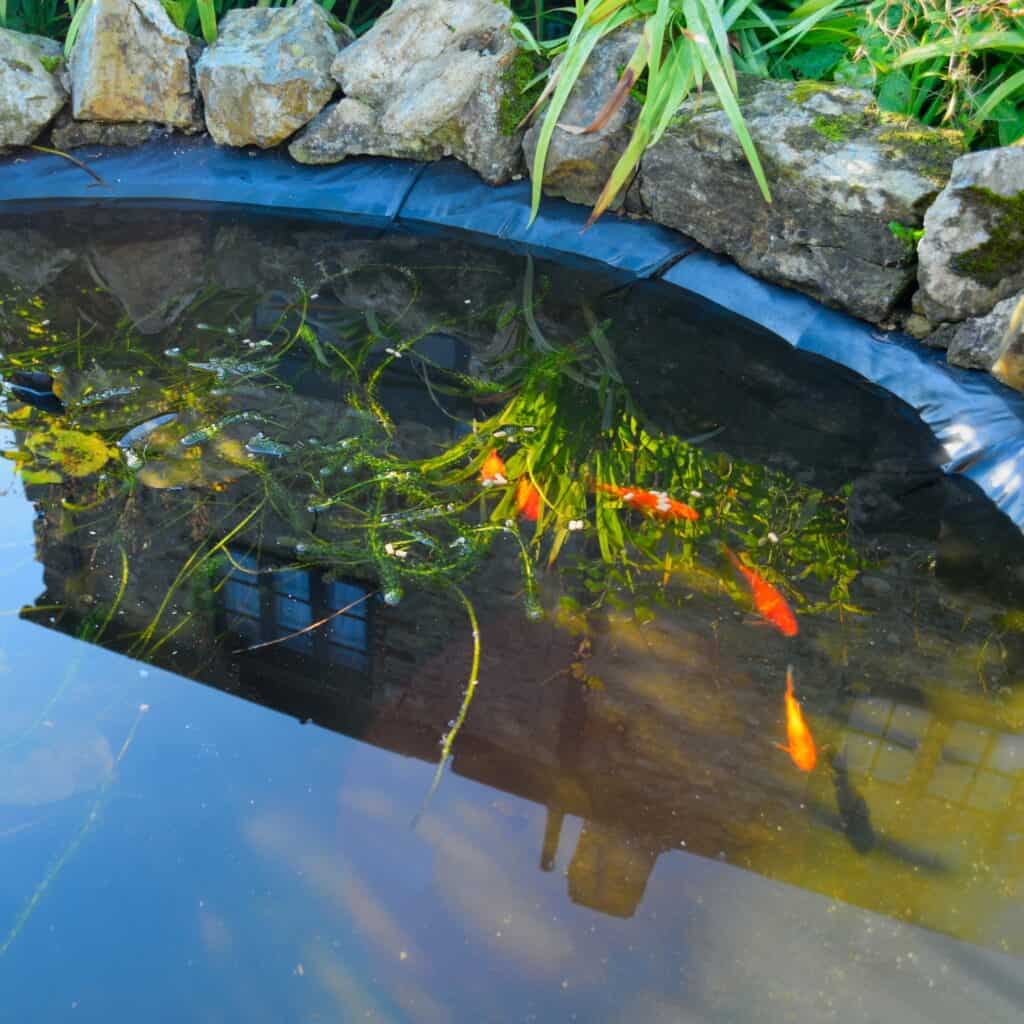
5. Add Water And Fish To Your Pond
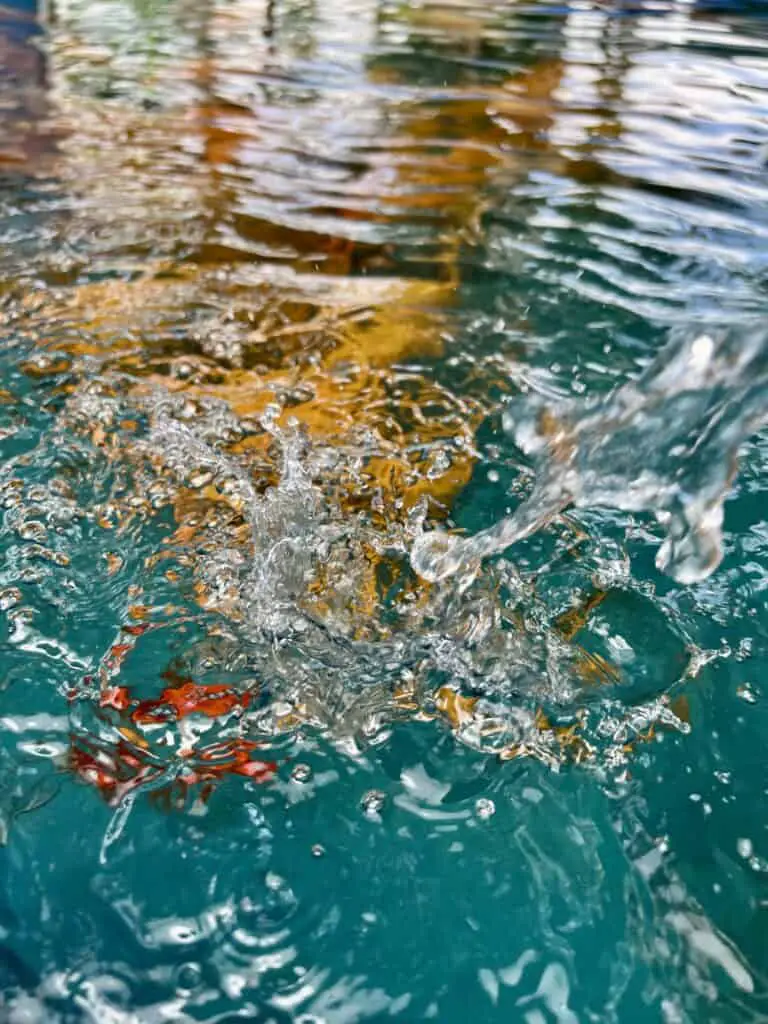
Now that you have successfully decorated your mini pond, it is time to make it do the job it was meant to do. Firstly, you need to put water in your pond. Find a tap or a hose and insert some water.
Most experienced pond-makers say you should fill half the pond with tap water and let the rainfall fill the other half. This is because some tap water has chemicals that can be bad for fish and other wildlife, so it is better to use rainwater. Although, this is entirely up to you, and you can use tap water if you do not want to wait too long.
If you want to add fish, make sure that you get fish that will work in your pond, and also make sure to insert them in the water correctly. Some fish cannot handle being transferred from one type of water to another very quickly, so they do not make the journey, so you should research how to insert the fish correctly.
Conclusion
After you have followed all these steps, your mini pond is complete. By following these steps, your pond will have been enjoyable to make, and everything will be done correctly. Next, ensure that your pond is safe for wildlife to enjoy, and research what plants can be put inside and around your pond safely.
A mini pond in your garden is extremely easy to make and costs very little. It will bring an entirely new element of wildlife right to your garden while also improving the way your garden looks in no time at all.
References
https://www.wikihow.com/Make-a-Mini-Pond
https://www.gardeningknowhow.com/garden-how-to/projects/how-to-build-a-small-pond.htm
https://www.wildlifetrusts.org/actions/how-create-mini-pond https://www.gardenersworld.com/how-to/diy/how-to-make-a-mini-pond/