
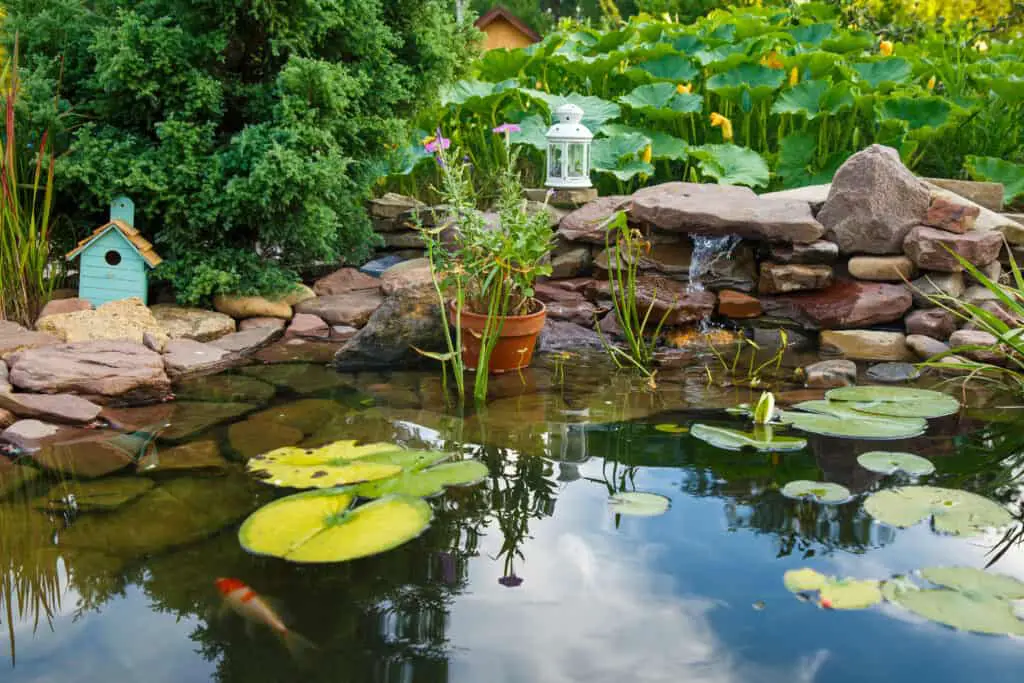
Koi ponds can bring tranquility and a sense of serenity to any garden. You might think that having your koi pond is out of reach, but the marvelous thing is that koi ponds are not that difficult to build. You might also believe that all koi ponds need to be on the larger side, but that does not have to be the case! So how do you build a small koi pond?
There are specific fundamental steps involved in building a small koi pond: map out space, dig a sufficiently big enough hole, line it with an EPDM liner, and add the correct filtration and aeration system, stones, and pebbles. Add water, allowing it to settle before adding your fish.
Sounds pretty basic, right? Sure, but a few more aspects must be followed when building your small koi pond. Taking it down to the fundamentals and correctly following each step will ensure that your small koi pond is adequately prepared for your koi fish to live happily and safely in their new home.
Pro Tip: If you’re tired of wasting money and making costly mistakes on the koi-keeping hobby or are thinking about buying koi fish but don’t know where to start, I strongly suggest you check out this ebook. I recently read this ebook, and it contains SO much useful information, such as:
- 3 proven steps to identify koi fish diseases
- WARNING: 3 things you should NEVER do when it comes to caring for koi
- When to seek professional help when it comes to looking after your koi
How Do You Build A Small Koi Pond?
Location, location, location, the first step you need to take before you can start building your small koi pond is to choose the perfect location for it. Most people like to construct their ponds in a place where they can view them from either a household window or deck. Others prefer it to be in a secluded area where they can retreat to watch their fish in a tranquil setting.
The main thing is that it would be beneficial if it had partial shade. This way, your fish will have somewhere to retreat when the temperature is too hot. You can also make up shade with pond plants later if a shady spot is unavailable. Keep in mind that the sun promotes algae growth, which you will want to keep to a minimum.
You don’t want it to be in full shade or under a tree that drops large amounts of leaves, as this can clog up the water, making it harder to keep your pond free of debris. Once you have picked the perfect spot, the building can commence following these uncomplicated steps.
Preparing The Pond Space
It’s time for you to dig. The best practice is to paint or draw the actual size of your pond on the ground using your preferred dimensions. With your koi pond being on the smaller side, it will be easy enough to dig the hole yourself or with extra helping hands, whichever you find preferable.
Digging the hole:
- Ensure that your pond is at least three feet deep. Going down to four feet in some places would be ideal.
- The Koi pond needs to be at least 6 – 8 feet in diameter to hold 1000 – 1500 gallons of water (the necessary water for five koi fish).
- If you plan on having a drain, add it now, and attach the correct piping for the outflow of the drainage material. Remember to place your drain at the lowest end of your pond to ensure gravity flow.
The depth is a necessity for both the warmer and colder months. The three-foot depth will allow your fish to swim close to the bottom, where the water is cooler in the summer. This depth will also ensure that the water doesn’t completely freeze in winter.
You might also consider adding some terraces in, especially around the sides of the pond, this adds style to your pond, but it can also be beneficial when adding plants or a waterfall. If you prefer not to have terraces, ensure that your pond walls are sloped, with the broadest part of the pond being at the top.
Lining Your Pond
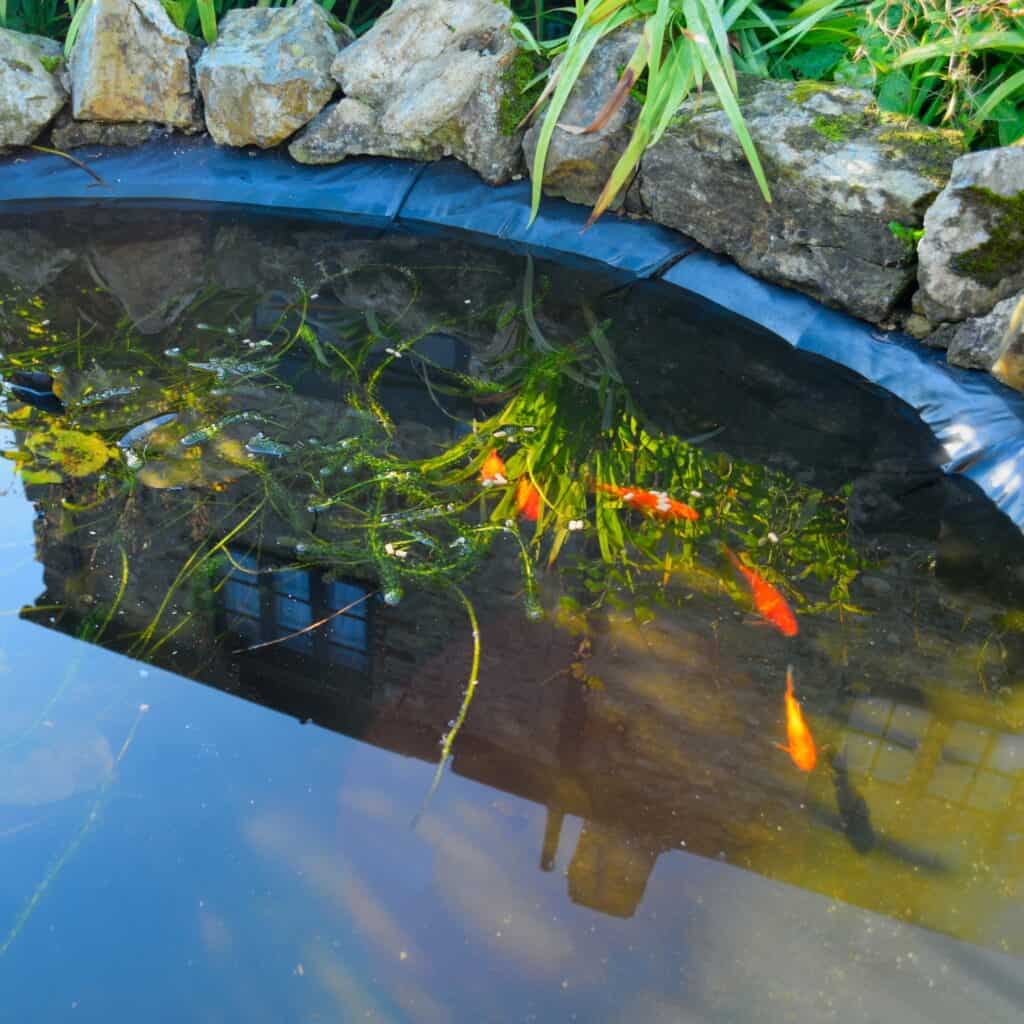
It’s time to add your liner. A good 45 mil EPDM liner is the best choice for home builds. Before placing the liner in your dugout pond, ensure the surface has no sharp protruding rocks. You don’t want any holes made in the lining. If your ground is very rocky, adding some underlayment material such as sand would be good.
Installing the liner:
- Ensure it fits as snuggly to the contours of your pond as possible.
- Ensure that you have attached it precisely to your drainage hole to prevent leaking.
- Extend the edge of your liner past your pond by at least one foot. (two or three feet would be optimum)
- Spread it past the waterfall area if you plan to install one.
Adding Rocks To Your Pond
During this part, you can get creative, stacking and overlaying your rocks to form designs. Installing your rocks:
- Secure the liner that has extended past the edge of your pond with large flat rocks.
- Lift the last section of the liner so that it is up against the rock on the outer edge.
- Dig a small ridge in the soil around your pond, pushing it against the rocks. This ridge will ensure no lawn chemicals, rainfall, soil, or leaf clippings seep into your pond.
- Refrain from using colored or treated rocks.
When installing rocks inside your small koi pond, the choice is yours. Koi fish are curious creatures, and you want to ensure that there are no rocks or stones with sharp edges which could ultimately hurt your fish. If you plan to place rocks and gravel inside your pond, start with the larger smooth ones on the bottom.
Installing Your Filtration System
Now it’s time to install the life support of your small koi pond, its filtration system. This system is necessary as it cleans the koi pond water, helping to ensure the continued health of your koi fish. There are various filtration systems available. Overall, they all consist of a bottom drain (which you should have installed by now), a settling chamber, mechanical filtration, and biological filtration.
- Attach the bottom drain to the settling chamber on the pond’s surface, either hidden behind some plants or rocks or in an enclosure.
- Your mechanical filter can attach to your settling chamber or float on top of the water, collecting debris as it goes.
- Your biological filter can be an artificial one that attaches to your mechanical filter on the side of your pond, or you can introduce beneficial plant and animal life into the pond to do the job. These include:
- Lily pads
- Smartweed
- Frogs
- Snails
Biological filtration is necessary to reduce the nitrate and ammonia levels in the pond toxic to koi.
Installing An Aerator In Your Pond
Aeration is vital in a small koi pond. It enables oxygen to get into the water, prevents your pond from freezing in winter, promotes gas exchange, and keeps the water moving.
You have a few choices here:
- First, you can install a waterfall, an excellent option, especially if you have a separate filtration system that takes water out of the pond, sends it through the mechanical and biological filters, and then returns it to the pond via the waterfall. It also makes for an aesthetically pleasing addition to your small koi pond.
- Or purchase an aeration machine which you can install in your pond. These are relatively easy to acquire and install with various choices available.
Adding Water
You can now fill up your pond with water. Once filled, you will need to leave it to settle for at least a week to allow the biological filtration system to kick in.
Adding Your Koi Fish

Place your koi in their bags to float in the water pond for around 15 minutes, allowing them to acclimate. You can then add some of the ponds water to the koi fish bags and leave them for another 15 minutes. Then you can open the bags and let the koi swim out.
Ensure that you do not add more than five koi at a time, as your biological filter needs to adapt to your koi slowly. Keep a close eye on your fish for the first few weeks to ensure that everything runs smoothly.
Conclusion
Building your small koi pond is a relatively easy endeavor. Before filling the pond with water and adding your fish, you need to dig out the hole and add your lining, rocks, filtration, and aeration systems. Each stage of the pond’s construction has its intricacies and needs to be done correctly before moving on to the next step.
References
https://www.sun-sentinel.com/entertainment/wsfl-koi-pond-create-htmlstory.html
https://www.thegardenglove.com/how-to-build-a-pond-easily-cheaply-and-beautifully/
https://www.totalmortgage.com/blog/general/4-koi-pond-considerations/27713