
So, you’ve decided to take the plunge and install that beautiful Koi Pond that you’ve always dreamed of. You’ve marked out a space and picked out the Fish, but you’re not too sure exactly what to put at the bottom of the pond.
You can line your pond with synthetic liner or seal the bottom of the pond with bentonite clay. After the bottom of the Koi Pond has been lined, you have the option of adding in smooth gravel and decorative rocks or leaving the bottom of the pond with just the liner.
You have a few options to consider when deciding what will go on the bottom of your Koi Pond. The cost and the amount of regular maintenance you would need will vary depending on your choice. Let’s explore your options.
Pro Tip: If you’re tired of wasting money and making costly mistakes on the koi-keeping hobby or are thinking about buying koi fish but don’t know where to start, I strongly suggest you check out this ebook. I recently read this ebook, and it contains SO much useful information, such as:
- 3 proven steps to identify koi fish diseases
- WARNING: 3 things you should NEVER do when it comes to caring for koi
- When to seek professional help when it comes to looking after your koi
Different Liners To Put On The Bottom Of A Koi Pond
Synthetic Liners
A big consideration for your Koi Pond would be how much you will be willing to spend on both the initial cost of setting up and the cost of everyday maintenance and repairs you would require going forward.
A regular PVC liner would be great for those on a budget. PVC liners are not a bad option for those installing a smaller pond, and it is relatively easy to repair should it get a tear or two. The PVC liner is only 0.5mm thick, so it might degrade over time due to exposure to the elements, become brittle, and tear.
The PVC liners do not cope well in temperatures below 8 degrees Celsius, so make sure that you keep an eye out for leaks during the colder Winter season. Keep in mind that you might need to replace the PVC liner from time to time to ensure your pond remains properly sealed.
A Thicker PVC liner is available at 0.75mm thick, but be prepared to pay marginally more than the thinner version. The advantage here is that this liner is much more resilient in colder weather and can withstand temperatures below the 104 degrees Fahrenheit mark.
A rubber liner is a great option, and they are generally about 1mm thick and, therefore, quite durable. You can expect a lifespan of at least twenty years with a rubber liner, and it is very unlikely to rip or tear. This liner is also durable, enduring weather conditions below 120.2 degrees Fahrenheit.
Aesthetically, a black synthetic liner at the bottom of your Koi Pond will make it easier to watch your Fish as their brilliant colors show up beautifully against the plain black background.
Geosynthetic pond liners made from reinforced polyethylene (RPE) or reinforced polypropylene (RPP), PVC, and rubber liners won’t negatively affect the water quality. They are a great option for easy installation and work well in smaller ponds.
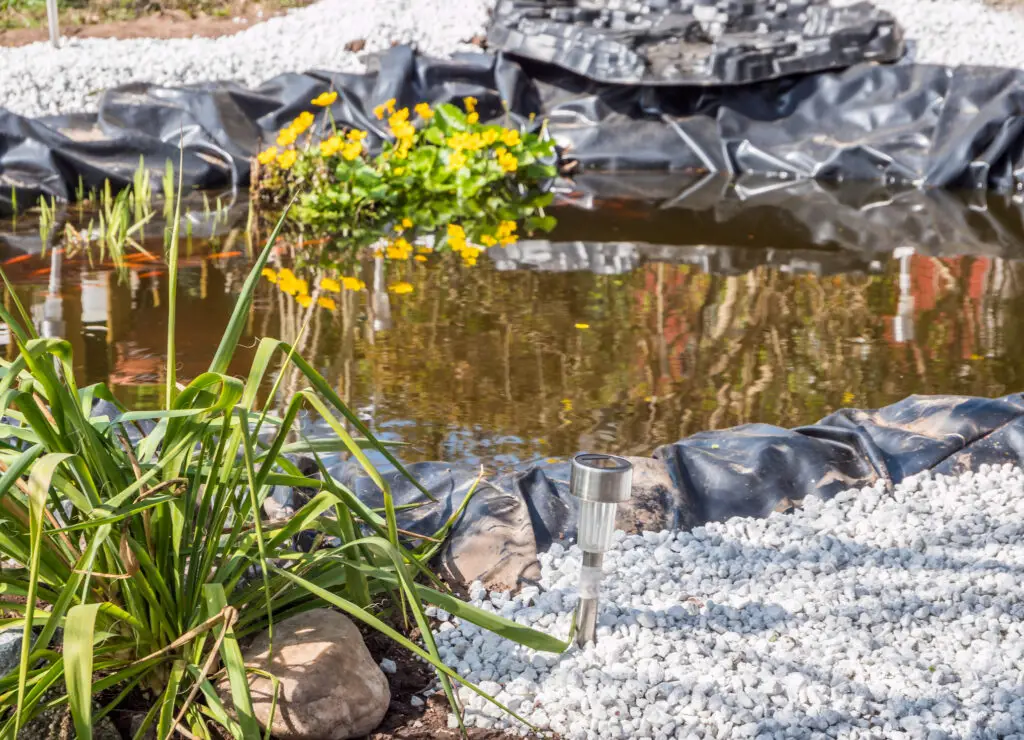
The problem with synthetic liners, though, is that, depending on the thickness, they are prone to tear. Beware of sharp objects like roots, sharp rocks, and twigs at the bottom of your pond when you are laying down your synthetic liner.
Consider putting an underlay over the ground before installing your synthetic liner. An underlay creates a soft cushion between the ground and your liner, making sure it is far less likely to tear.
A pond underlay can add years to the life of your pond, and for an added benefit, make sure you choose one that has been treated to withstand UV light.
Installing A Liner At The Bottom Of Your Koi Pond
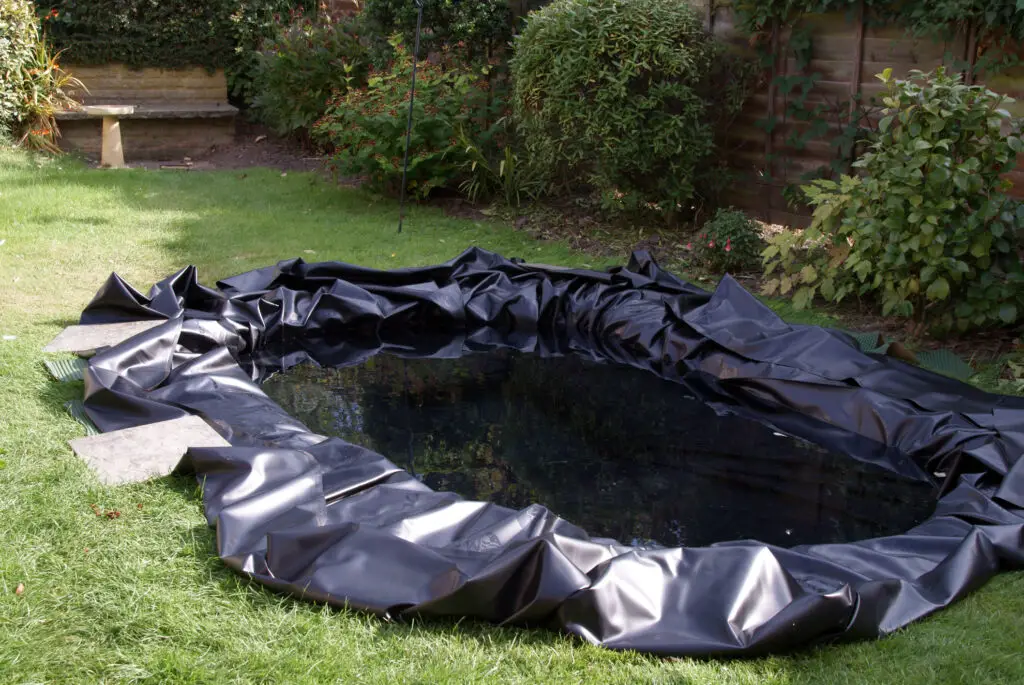
Installing a pond liner is fairly simple, as all you would be doing is laying the correct size liner over the pond and making sure that the overlay is folded in such a way as to avoid too many folds and creases.
It would be best to prepare the bottom of the pond first by removing any stones, sticks, or rubble that may rip and tear the liner. Cement or Bentonite clay is useful as an underlay and will help ensure that nothing at the bottom of the Koi pond would damage the liner.
Have a friend or family member help lay the liner over the top of the pond. Fold and crease the liner to fit snugly around the sides of the pond. Ensure that a uniform edge lies over the ground around the pond’s edges.
If you are planning to add rocks on the sides of the pond, you will then lay them on top of the overlay liner. The water added to the pond will help the liner conform to the bottom of the pond.
Adjust the liner to keep the overlay even at the edges and avoid having too many big creases, wrinkles, and folds.
How To Calculate The Correct Size Of Your Pond Liner
Once you have chosen a suitable area for your pond and have dug a pond of suitable depth, you need to make sure that your pond liner of choice will cover the entire bottom.
Always make sure that you buy a big enough liner to allow for creases, folds and enough liner to line the edges as well. Use the following formula to determine the correct size:
Overlap + Depth + Width + Depth + Overlap = TOTAL 1
Overlap + Depth + Length + Depth + Overlap=TOTAL 2
Size= TOTAL 1 (Rounded to closes decimal) x TOTAL 2 (Rounded to closes decimal)
To use these calculations, use 2 feet for the overlap, then insert the dimensions of your pond, such as length, depth, and width, into the equation.
Round these numbers off to the nearest decimal once you’ve calculated the Total 1 and Total 2. Total 1 and Total 2 equals the Length and Width of your liner.
Example:
If you’ve prepared a pond that is 9.8 feet long, 6.5 feet wide, and 13.1 feet deep, your calculation will look as follows:
0.6 + 13.1 + 6.5 + 13.1 +0.6 = 33.9
0.6 + 13.1 + 9.8 + 13.1 +0.6 = 37.2
Total 1 (Rounded to nearest decimal) =40
Total 2 (Rounded to nearest decimal) = 37
Pond liner dimension = 40 feet x 37 feet
Sealing The Bottom Of Your Koi Pond With Bentonite Clay
If you intend to have a smaller pond that is only a few feet deep, you may want to consider a natural bottom such as Bentonite Clay. Bentonite Clay is a versatile substance that occurs naturally when volcanic ash ages.
One of its many uses is to seal off the bottom of your Koi Pond, which is surprisingly easy to do. Start with making sure that all debris, stones, and other sharp objects like twigs and glass are removed. Then, remove 5-6 inches of the ground and set aside for later.
Apply your Sodium Bentonite Pond Sealer. You will only need to apply a thin layer, after which you can take the 5-6 inches of soil you removed earlier and cover the sealer evenly. When adding in your water, do it in a gentle stream and try not to put too much pressure on your new pond bottom.
The good news is that using this natural Koi Pond bottom is a great way to invest in the health of your Koi, as Bentonite Clay is great for a Koi’s immune system. Not only can it boost the health of your pets, but also that of the water itself!
There are numerous advantages to putting Bentonite Clay at the bottom of your Koi pond. It is an excellent sealant as it forms an impermeable seal while at the same time helping to keep the water quality stable.
Bentonite clay is a natural addition to the pond ecosystem as Koi Fish are quite at home. Other clays, such as montmorillonite clay powder, otherwise known as Koi clay, have numerous benefits, such as supporting the production of bacteria and enzymes that boost the health of your Koi fish.
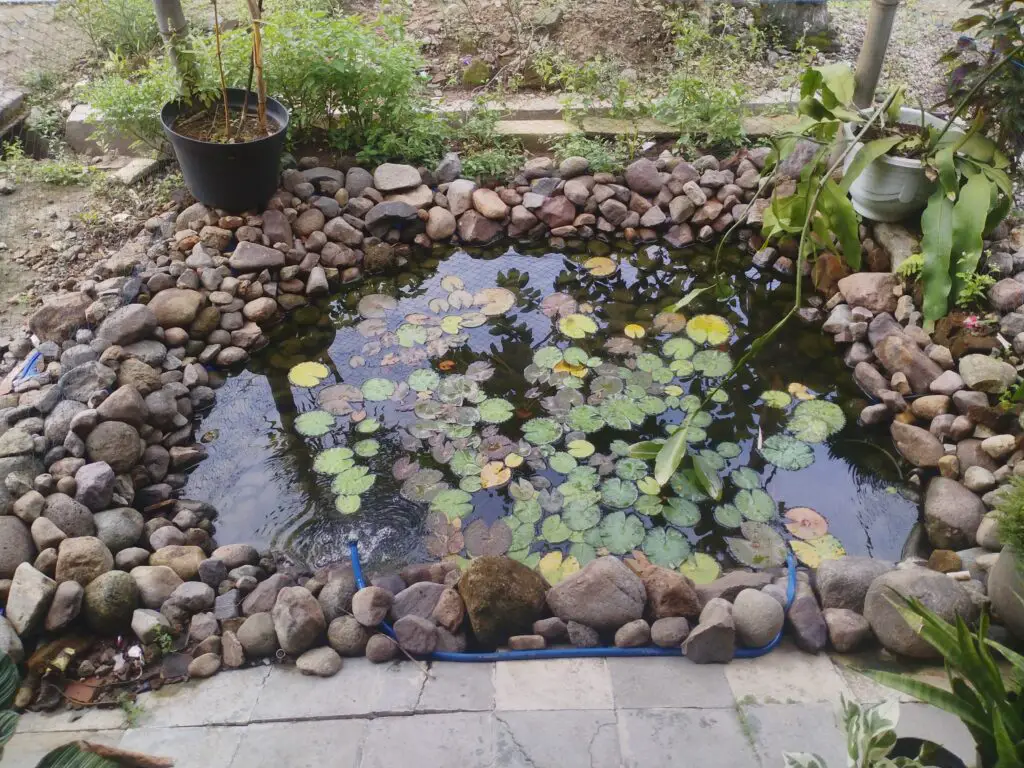
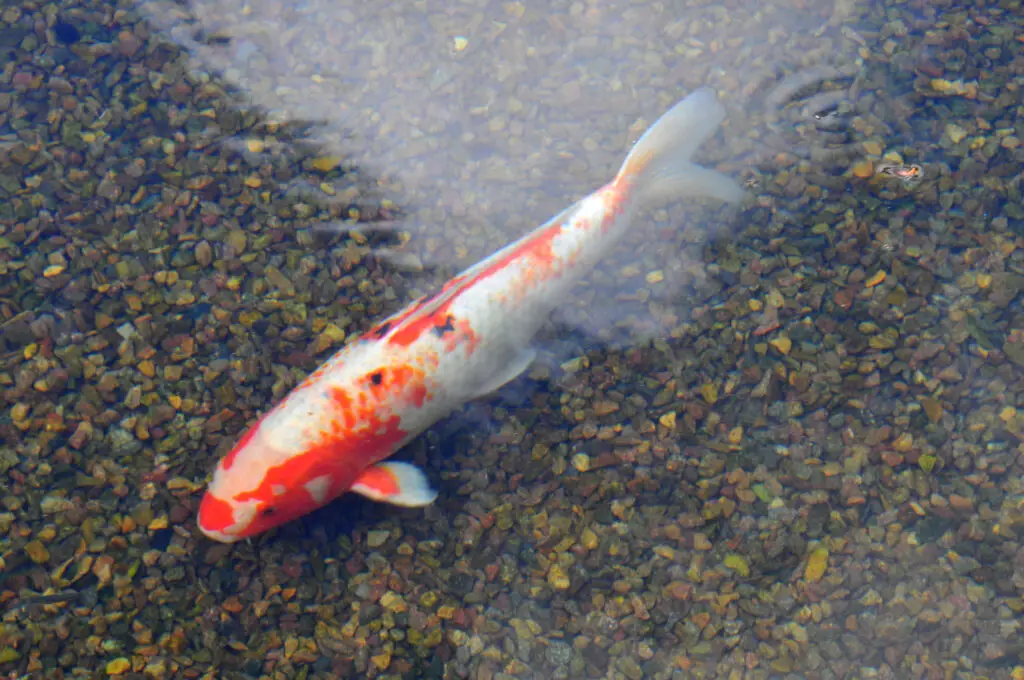
Putting Gravel At The Bottom Of A Koi Pond
Your Koi Pond has been dug, smoothed over, sealed, and properly lined. Now comes the fun part! You get to decorate the bottom of your pond with gravel, rocks, and possibly some aquatic plants.
Gravel can add a decorative touch to your pond, but you should consider that the amount of maintenance and cleaning time will increase somewhat. Adding gravel increases the surface area twelve times per square inch. This extra surface will give aerobic bacteria a chance to thrive.
Aerobic bacteria are the good guys in your pond, feeding on ammonia and keeping the pond water fresh. The ammonia is produced by the decaying fish excrement, which is a bonus as it means you have a self-cleaning pond.
Keep in mind there needs to be a balance of good bacteria in your pond. Your gravel should only be 1 to 2 inches deep, as adding more gravel will encourage too much aerobic bacteria in your pond, which is not a good thing.
You will need to make sure that your pond has enough oxygen to sustain these aerobic bacteria.
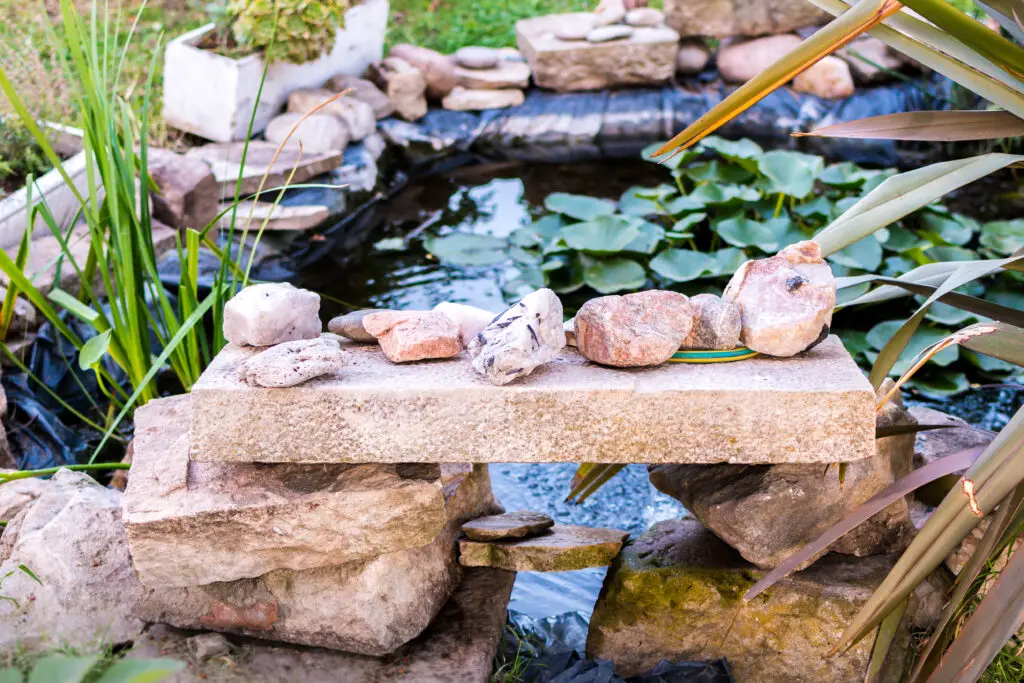
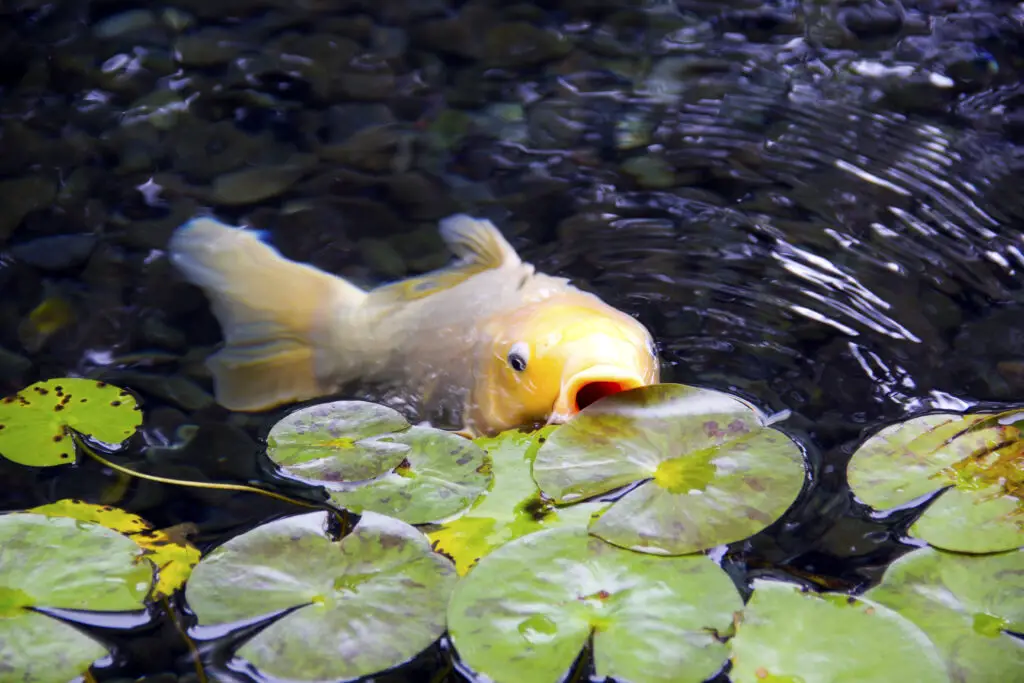
Adding gravel will also allow you to add some plants, beautifying your pond and providing hiding places from predators for your Koi. Also, every Koi deserves a pretty home! Adding gravel to your pond will help protect your pond liner from damage caused by the sun’s UV rays.
Types Of Gravel
All the gravel at the bottom of your pond should be rounded. Avoid any rough edges, as this will cause tears and damage your liner. As we mentioned before, make sure you add only 1 to 2 inches of gravel or pebbles. This should be enough to add weight to your liner, helping it to conform to the ground at the bottom of your pond.
Pea Gravel
Pea Gravel is small, rounded stones similar to the shape and size of peas. Their smooth texture makes them an excellent choice for your pond. You can find pea gravel in the shallow sections of riverbeds or at your local pet supply store.
Limestone Gravel
Be aware that limestone will affect the pH level of your water, pushing it slightly higher. Koi Fish thrive in pH ranges between 6.8 and 8.2, and you may encounter problems when the levels are not optimum.
Always make sure to check the pH level of your water regularly and adjust the alkalinity by using commercial pH buffers. You can also remove a layer of your limestone gravel and mix it with other pebbles, rocks, or gravel.
Your pond pump may vacuum in gravel, which may damage or block up your pump. This is why choosing gravel with stones larger than 1 inch in diameter is important.
Plants To Put At The Bottom Of Your Pond
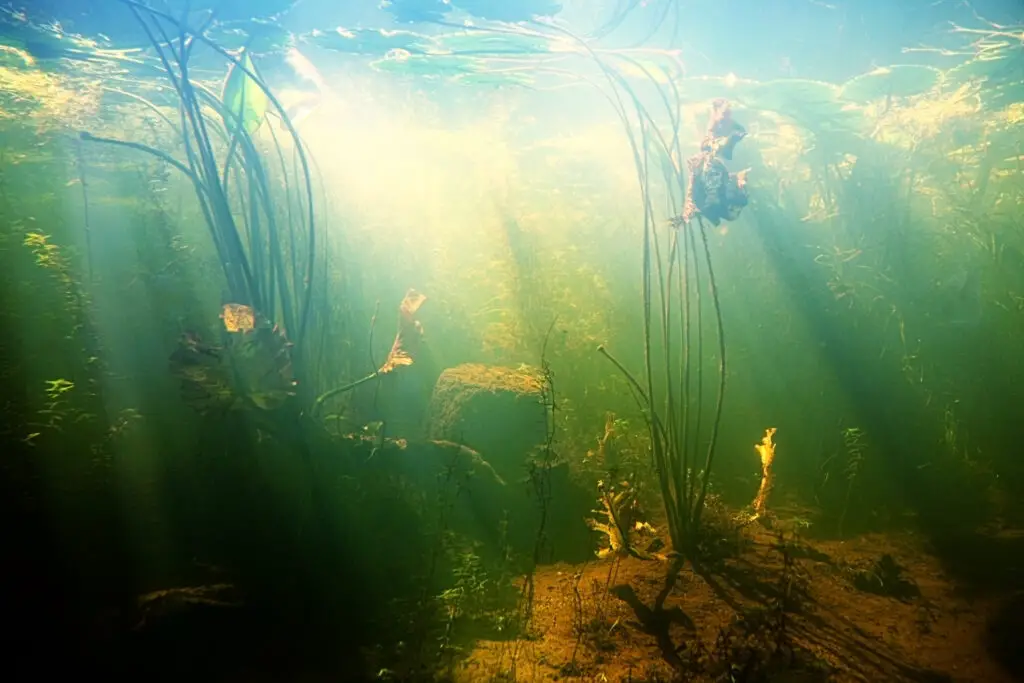
To make your pond truly beautiful, you can add a variety of different aquatic plants. Keep in mind that the placement of these plants is key as different species will need to be placed in the most beneficial places in the pond, according to their type.
There are three different types of aquatic plants, namely Floating plants, Shallow Water Marsh Plants, and Submerged plants.
Floating plants include varieties such as:
which serve as water filters, ridding your pond of excess nutrients and ensuring that algae cannot thrive.
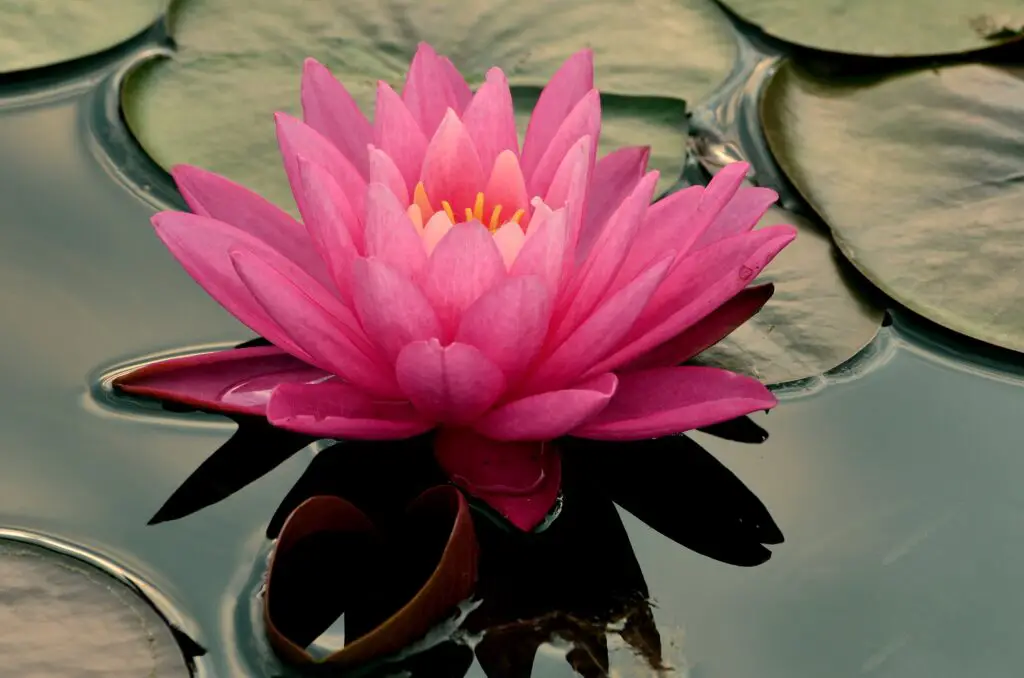
As the name implies, Floating Plants float on the water’s surface with their root system submerged beneath. The shade these plants provide your Koi Fish a hiding place from predators such as Herons as well as a respite from the harsh sun on warmer days.
- Umbrella Plants
- Water Iris
- Horsetail
are all Shallow Water Marsh Plants. These plants create a pleasant hedge around your pond’s edge and act as a natural water filtration system. A disadvantage is that certain plants, such as the water Iris, may attract unwanted insects.
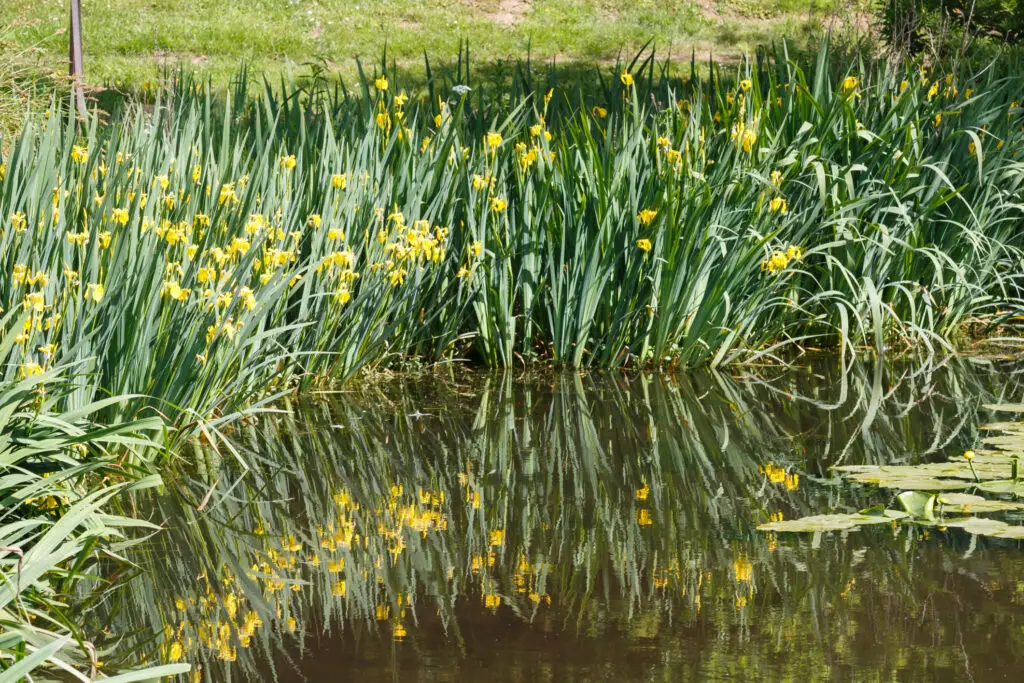
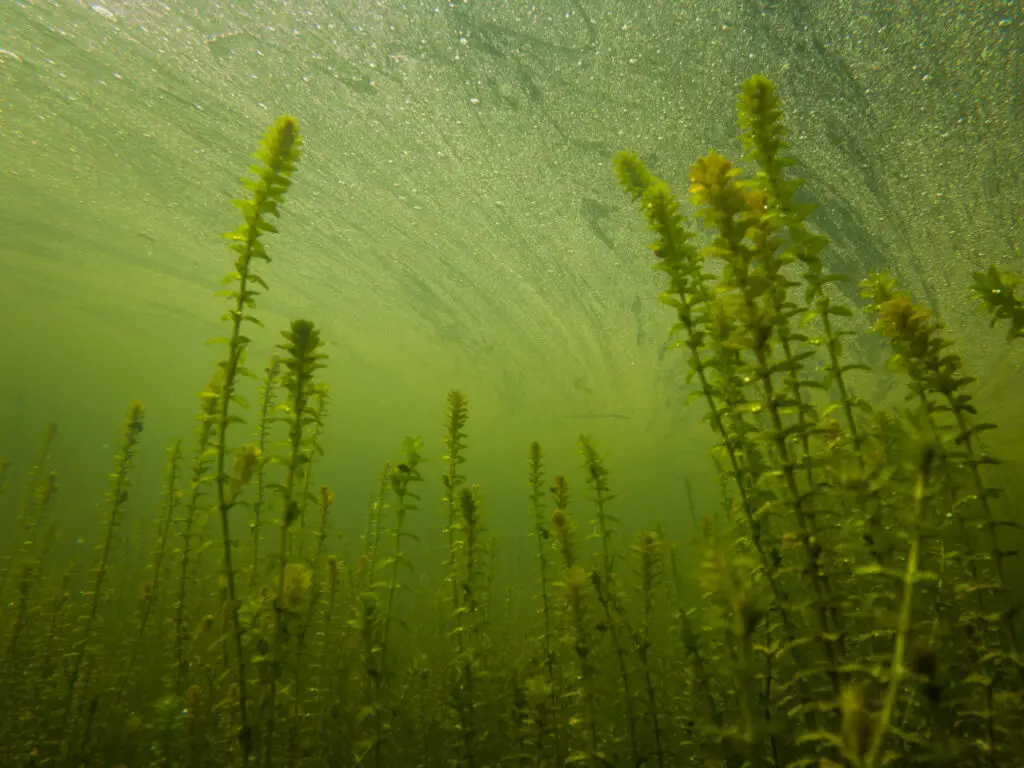
Plant Shallow Water Marsh Plants at the edge of your Koi pond, as they only need a few inches of water. In this case, you may want to create a rock shelf so that these plants will thrive. Lastly, plants that fall in the category of Submerged plants include the likes of:
- Fanwort
- American Waterweed (Elodea)
- Water Purslane (Ludwigia)
Submerged plants oxygenate the pond, creating the right environment for good bacteria to survive and ensuring that your Koi babies always have enough oxygen.
Koi Fish are notorious for nibbling on anything in their environment. This means that you will need to use planting containers to protect the roots of your Submerged and Shallow Water Marsh plants, as well as invest in Floating Plant Pond Protector devices.
Creating a pleasant home for your new Koi family can start as a simple project and mushroom into an ongoing project. Whether you decide to leave the bottom of the pond with just the synthetic or rubber lining or experiment with different aquatic plants, gravels, rocks, and water features, make sure that you maintain the right balance of good bacteria, oxygen levels, and water quality.
Conclusion
A Koi pond can be a small addition to your garden with just a synthetic or rubber liner at the bottom, or it can be one with numerous plants, rock formations, waterfalls, and beautiful pebbles and gravel covering the bottom. The choice is yours.
References
https://homeguides.sfgate.com/type-gravel-koi-pond-82526.html
https://homeguides.sfgate.com/better-put-rocks-sand-ornamental-pond-91559.html
https://homeguides.sfgate.com/line-pond-bentonite-83494.html